
How about using your Android device as a PC webcam ? To do this, first see how to install DroidCam on Linux manually .
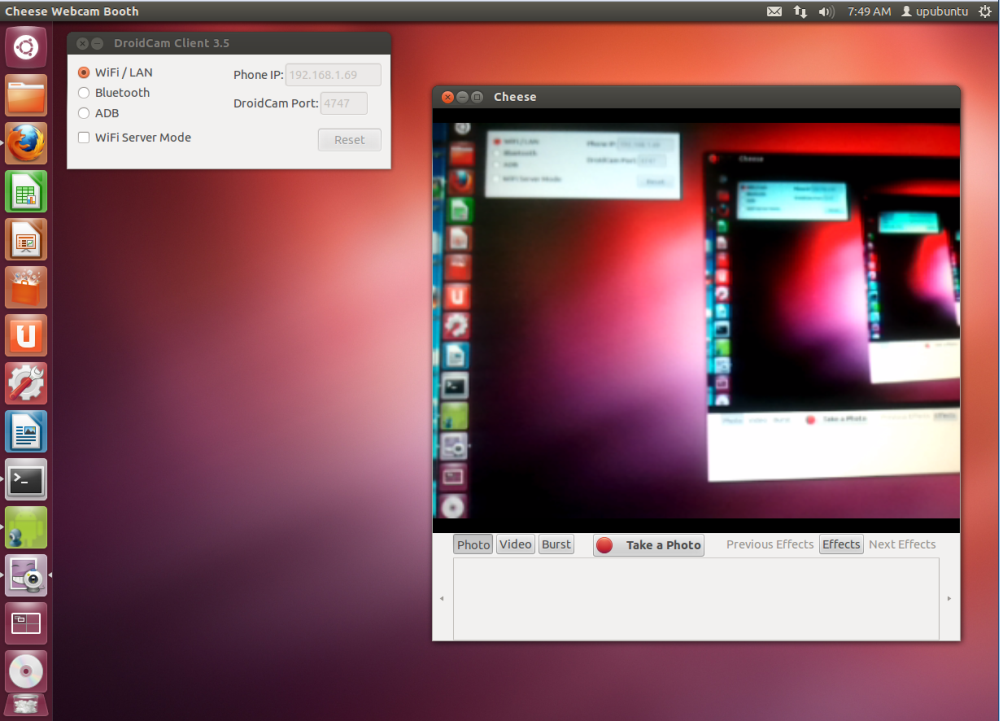
DroidCam is a tool that allows you to use an Android device as a wireless webcam, which can be used from your desktop (Linux or Windows) to chat on Skype, Google+ and so on, using the “DroidCam Webcam” on your computer , with sound and image.


It can connect via Wifi, Bluetooth or USB cable. Moreover, it is simple and efficient as it was designed to save battery and space as much as possible.
How to install DroidCam on Linux manually
To install DroidCam on Linux manually do the following:
Step 1. Open a terminal;
Step 2. If you have already done some manual installation, delete the previous folder, link, and shortcut with this command;
sudo rm -Rf /opt/droidcam*sudo rm -Rf /usr/bin/droidcamsudo rm -Rf /usr/share/applications/droidcam.desktopStep 3. Open the package manager of your distribution and install the kernel linux-headers package that linux is using.
On Debian-based systems, the installation command is as follows:
sudo apt-get install linux-headers-`uname -r`On Fedora-based systems, the installation command is as follows:
sudo dnf install linux-headers-`uname -r`On openSUSE-based systems, the installation command is as follows:
sudo zypper install linux-headers-`uname -r`Step 4. Check if your system is 32-bit or 64-bit by using the following command in the terminal:
uname -mStep 5. If your system is 32-bit, use the command below to download the program and save it with the name droidcam.tar.bz2:
wget https://www.dev47apps.com/files/600/droidcam-32bit.tar.bz2 -O droidcam.tar.bz2Step 6. If your system is 64-bit, use the command below to download the program and save it with the name droidcam.tar.bz2:
wget https://www.dev47apps.com/files/600/droidcam-64bit.tar.bz2 -O droidcam.tar.bz2Step 7. Use the following command to unzip the downloaded file;
sudo tar -xjvf droidcam.tar.bz2Step 8. Access the created folder
cd droidcam*/Step 9. Finally, create a shortcut to make it easier to run the program;
sudo ./install

Step 9. If your current graphical environment supports, create a launcher for the program by running the command below;
echo -e '[Desktop Entry]\n Version=1.0\n Name=DroidCam\n Exec=droidcam\n Icon=droidcam\n Type=Application\n Categories=Application' | sudo tee /usr/share/applications/droidcam.desktopReady! Now, when you want to start the program, type droidcamin a terminal, followed by the TAB key.
If your distribution supports it, place the shortcut on your desktop using the system file manager or the command below, and use it to start the program.
sudo chmod +x /usr/share/applications/programa.desktopcp /usr/share/applications/programa.desktop ~/Área\ de\ Trabalho/If your system is in English, use this command to copy the shortcut to your desktop:
cp /usr/share/applications/programa.desktop ~/DesktopIf you want, you can also use the system file manager to run the program, just by opening its folder and clicking its executable.
Donations/Tips for Technibuzz.com
Do you find my tutorials useful? Please consider supporting my website. It is hard to keep the site running when so many people block ads. Donating money to Technibuzz is easy!
The tutorials here on Technibuzz.com are provided free of charge. If you wish to make a small contribution, you can choose one of the following options:
- BTC (Bitcoin) Address: 1BfQdqBs4sVBUijX4m8jTri51ET2w1FmrH
- ETH (Ethereum) Address: 0x498e0bf35d20b1ed80dbe9cd7437808adc5e603f
- XMR (Monero) Address:
87MX19uzcEjgbzsBqU1dEpBnHd86TthwuMEQMZ17E3wN71VZf4qDYPi7GVTEMMeJtyira9cUZvUkLDMwTeNaxEsLLrPj8Jg - Paypal: cybersecurity@technibuzz.com